Arduino is an embedded microcomputer that started out as an educational tool. It has been around for years and I originally wrote it off as not much more than a toy. That was probably a fair assessment in its early days. But it has grown a lot over time and you can now get some pretty powerful little computers in the Arduino form factor, along with lots of different options for interfaces to motors, sensors, servos, graphic displays, and so forth.
There is a growing community of people using Arduino for model railroading. If you are on Facebook, check out the “Arduino for Model Railroading” group. You will see some pretty advanced projects going on. There is even a community project working on creating a handheld controller with graphic touch screen for running the layout.

I work with embedded computers all day, every day, professionally. Thus, when I’m off work, to “play” with a computer in my “free” time is not high on my list. I prefer to just buy a controller to run my trains and spend my time doing other things I enjoy like scratch building diorama. Nevertheless, I found cause to join the Arduino community. If the off-the-shelf controller doesn’t do exactly what you want, you just live with it. If your Arduino doesn’t do what you want, you tweak the code and make it do what you want.
Both the Jackson Street Roundhouse and Twin City Model Railroad Museum have a G scale layout that is interactive – meaning visitors can push a button to start the train. The problem at both museums is that the train starts off at full power since they are not DCC, and there is only a button for the visitor. There is no dial to turn speed up slowly. The sudden start is hard on G scale equipment. But you can’t get DCC to respond to a simple single button. DCC always involves a controller, some more complex than others, and even experienced modelers sometimes fight with these controllers. Expecting totally inexperienced museum visitors to deal with DCC would be unreasonable. So the museum staff does the best they can – preset speed on the power pack, and put a switch or button in series with track power to turn the train on.
I personally have no interest spending my time on creating my own train controller with Arduino if all I would be doing is reinventing the DCC wheel. But that part about making it do what you want comes into play here. I have created an Arduino based controller to solve the museum interactive control problem.
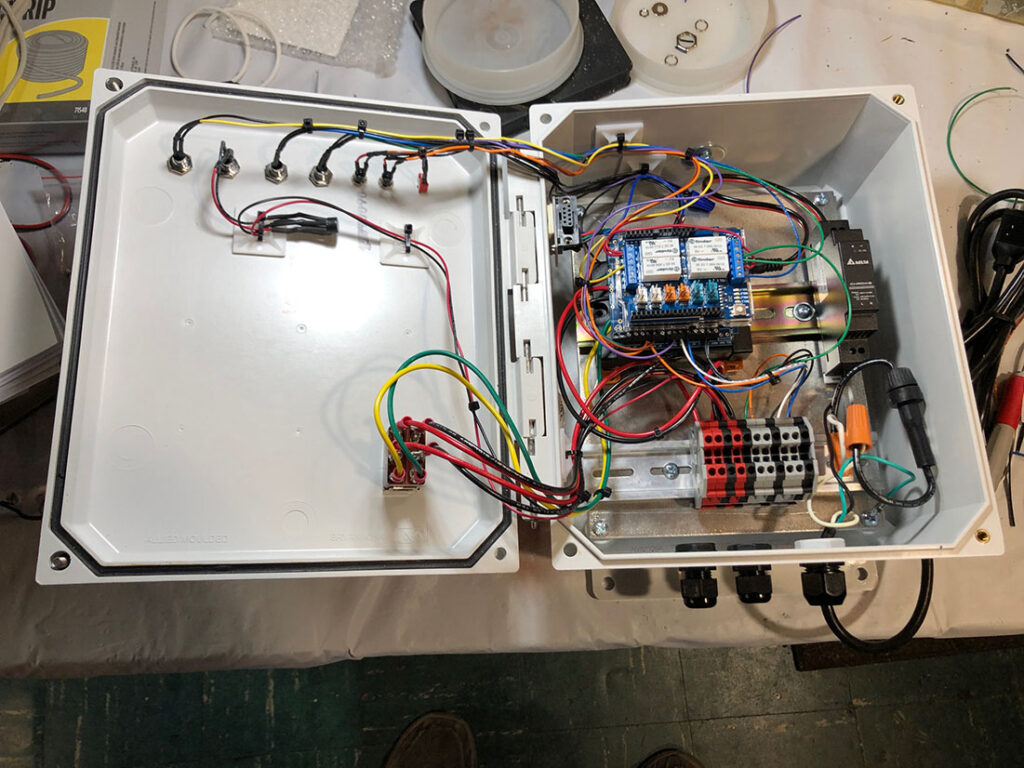
I have put together the Arduino board stack, and finished programming it and testing it on the bench. I am now working on putting it into a finished control panel to install at the museum. The first system is going to be installed at the Jackson Street Roundhouse, followed by a second system at the Twin City Model Railroad Museum.
Here is how it works: When a visitor pushes the start button, the controller ramps speed up gradually to a preset maximum speed. The train will make a predetermined number of loops, then come to a gradual stop at its original starting point. The only minor adjustment to the locomotive is that it will need a small magnet attached to its underside. There will be magnetic sensors embedded in the track. One will detect whether the train has started, and the other will detect when the train has returned to the home position. If the train fails to get moving, or fails to return home, the controller will go into fault mode. In fault mode, the track power will be shut down (assuming the possibility of a derailment), and a status light will flash calling for attention. There will be a “reset” button accessible to staff to get the controller back in sync, and track power live, once the fault has been addressed – like maybe put the train back on the track.

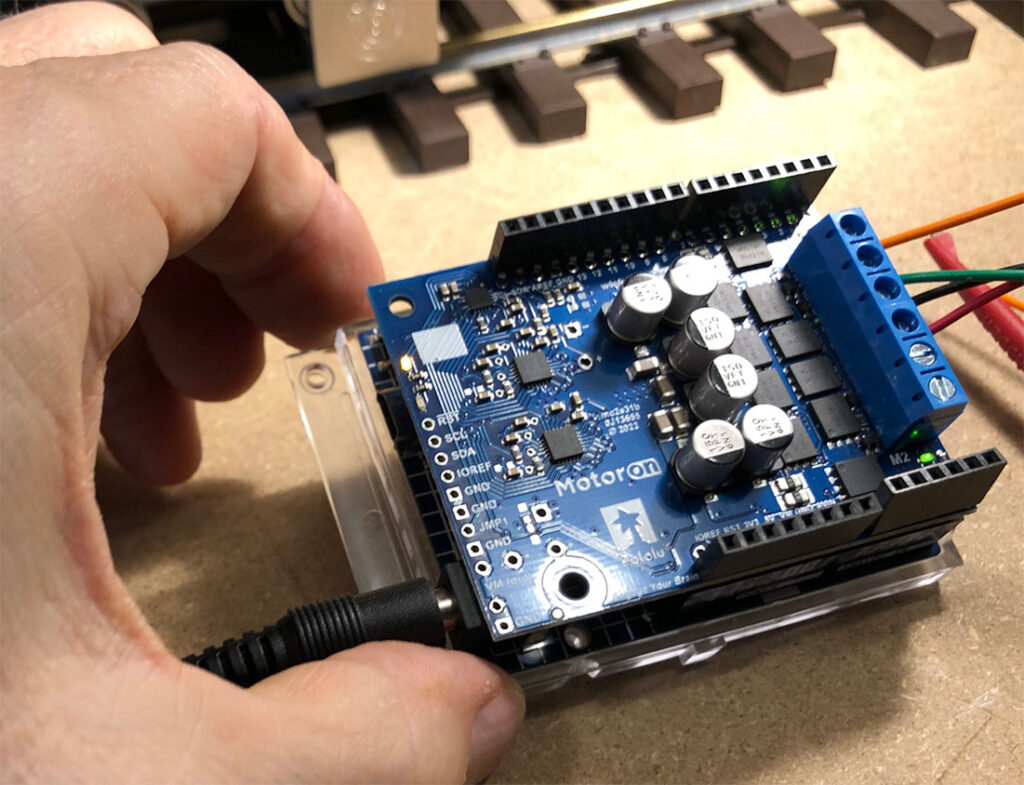
In addition to the Arduino processor board, there is a motor
control board capable of handling 18 volts at 20 amps, a relay board used to
turn on status indicators, and a terminal board for connecting sensors and
switches.
Once I started having too much fun with Arduino, I found a
couple more uses for an Arduino, too. I’m just getting started on a G scale
Christmas train for the Twin City Model Railroad Museum. I plan to have it
rolling by Christmas 2024. In this instance, I am using Arduino to animate some
of the lighting.
I should add one other comment about why Arduino is popular.
The processor board running the track controller described above is a $20 item.
Getting into Arduino is not going to cost you a fortune. However, you will need
to learn a little computer programming. Arduino does an pretty impressive job
of making that as easy as possible with lots of documentation, lots of
examples, and a helpful community of users.
