One of my winter projects is to build at least one more log cabin for the Old West portion of my layout. I scratch built one log cabin so far, and it came out looking fairly good. The only thing that I questioned was the log joints. I did find a small number of photos of very old log cabins where the joints were as I created in my model. But by far, the majority of photos of very old log cabins show dove tail joints.
My first scratch built log cabin looks like this. The wood is stained to look more aged than it really is.

I spent a fair amount of time looking for information on log cabin dove tail joints. Probably one of the better illustrations is found at the British Columbia School of Log Building. Here is the illustration from their lesson on dove tail joints.

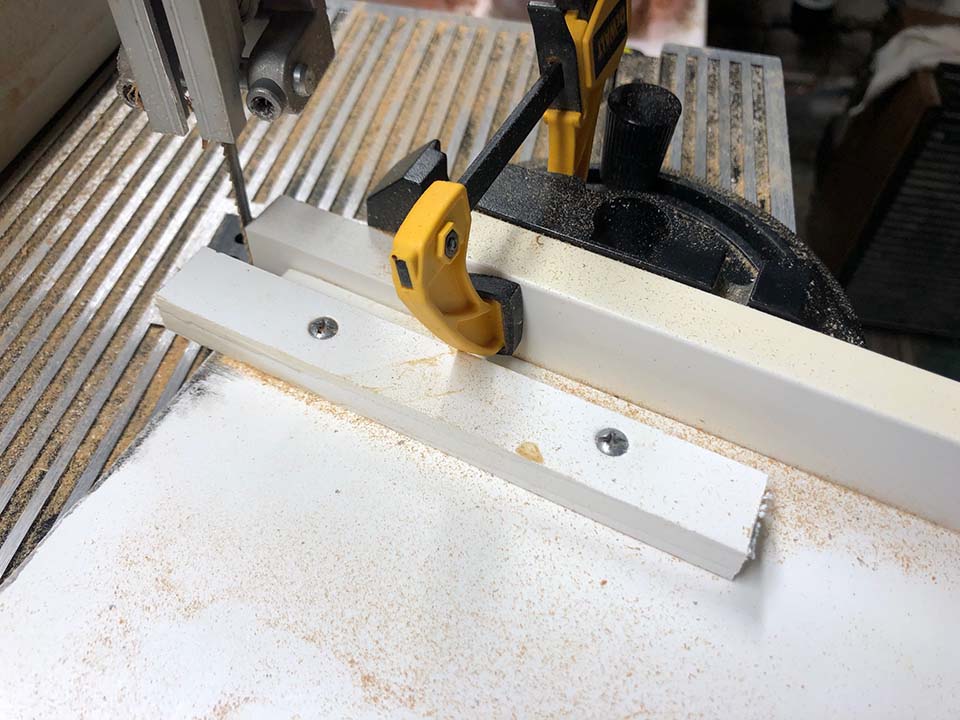
Cutting all those angles just right on a full size log would be challenging enough. Making those angled cuts on 1:24 scale logs is even harder. After a great deal of head scratching, measuring, and trial and error, I came up with a crude jig that would cut a double angle on my band saw.
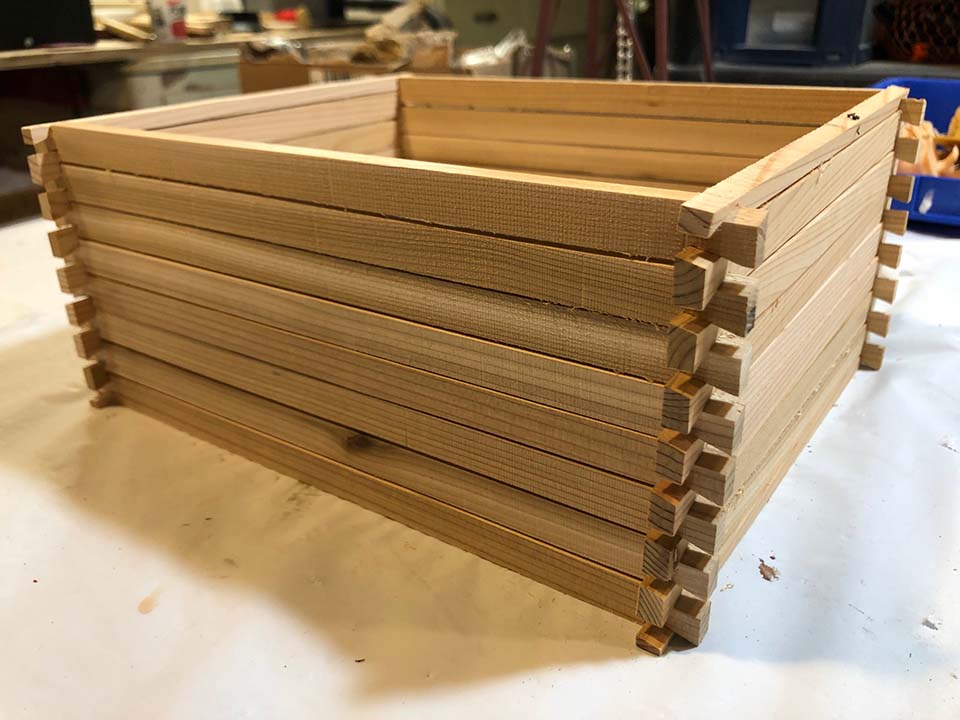
Cutting my pile of logs was tedious, but the finished result is that my 1:24 scale log cabin has joints that look pretty close to the pictures that the school shows as an example. The logs in some examples are flush on the ends while other examples I found online show the ends stick out a bit further. I chose to let the logs stick out just to look more rustic.
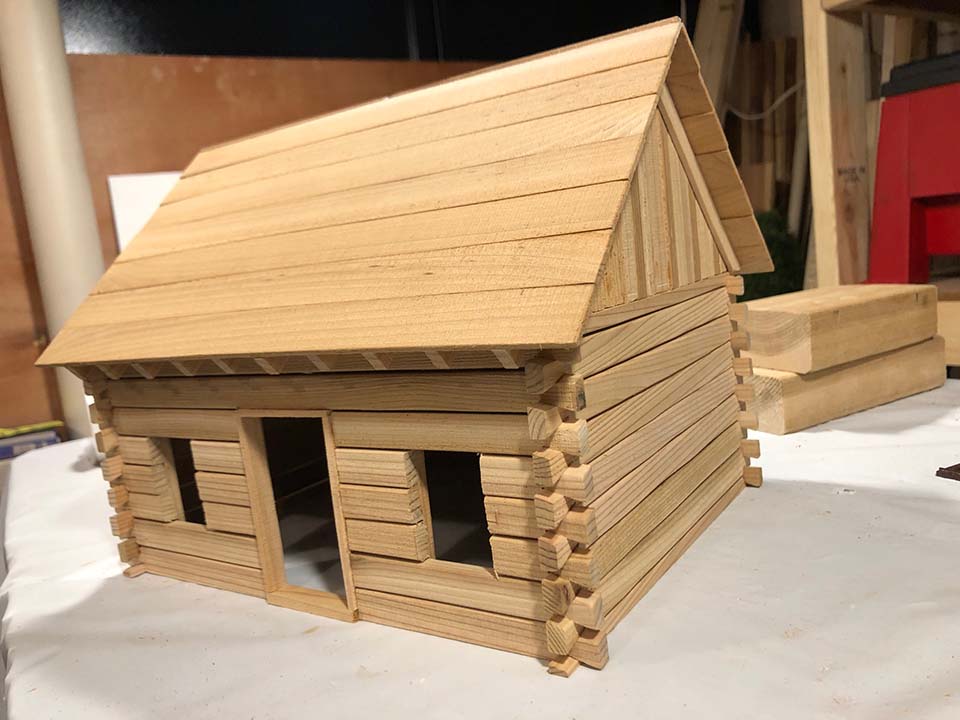
Once the walls were done, I proceeded to do the rest of the build.
I’m going to finish this one with stain much like the first one and keep it as an example of the “right way” to do it. But I honestly think I’m going to like the more rough and rustic look of the original log cabin better.